Wednesday, August 24, 2011

German Shepherd WIP 3


An update on this lovely dog. Still have much to do, but it's coming along quite well.

Details:

11" x 14" on Ampersand Scratchbord
#11 Exacto knife
Ampersand repair black Ink
Sable brush

Wednesday, August 10, 2011

Thomas Update


Well, I made some changes, added his whiskers, toned down his nose, and tried to fluff up his tail some. Unfortunately, my scanner is on the fritz right now so this is a digital pic, but not a very good one. I have since fluffed up his tail just a bit more too, but haven't taken another photo of it yet. His nose is not as colorful in real life as it looks here.

I'm almost afraid to varnish this. It night darken it too much.

Friday, July 29, 2011

German Shepherd WIP


A while back, I was asked to donate something to an auction to raise money for my local SPCA shelter. I chose to donate a gift certificate for an 11" x 14" custom pet portrait. This handsome German Shepherd was the winner!

This portrait is being done on 11" x 14" Ampersand Scratchbord using only a #11 Exacto knife and the Ampersand Claybord inks. There is still lots to be done yet, especially value tweaking, but it's certainly coming along. There's some corrections that I can see need to be done now that this is on my computer screen, and I will be making them soon.

Rebecca, If you see this, please feel free to comment in the comments section, or you can email me directly to let me know how you feel about how this is coming along.

Wednesday, June 29, 2011

Thomas - Almost There!


Thomas is finally coming along fairly well now. After having some issues with him, I think I'm just about there. I still need to finish the chest he's laying on, and of course, Thomas still needs many adjustments and details added, but it's almost done.

Tuesday, March 8, 2011

Thomas - More colors and layers down


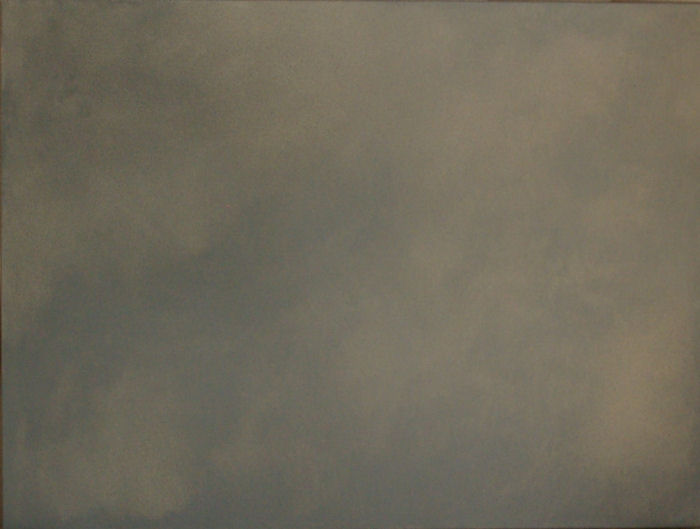
Just a little update on my progress on Thomas.

I have put down more layers of color, this time on his body. There is still much to do with color, value, and details on ALL of the painting. Very difficult to get his coloring correct, but I think I'm getting there slowly but surely. As you can see, Thomas's bib around his neck is barely started and one ear and one leg are not even begun yet. Also, I have not yet completed the markings on his head either. I need to go back to those and finish them.

Also, I am curling his beautiful long furry tail around his body. The ref pic I took of him had his tail sticking straight out toward the back and I wanted to include it in the painting. I'm using my cats as models for how long his tail should be as it curls around his body. I'll use Tony and Treat (my two long-haired cats,) as well as my other ref pics of Thomas, as models for how a fuzzy tail would lay beside him.

I really need to increase my values before I get too much more done so that the shadows on Thomas agrees with the direction from which I have the light coming in the painting. This is another problem with creating your own light source. Everything must agree!

Little side note here - my four cats are highly jealous that I am working on the painting of a strange cat. They're even more bothered by the fact that I'm also working on a painting of a dog at the same time (horror of horrors - a DOG!). Lol! They are giving me funny looks, some of them look like their little kitty cat brains are scheming something ........


Note for Kristina:
Should Thomas have more gray in his fur or is this coloring all right?

Saturday, February 12, 2011

Thomas - WIP 1 - Starting to Add Color


Here's the latest update to Thomas. As you can see I have started to add color. I will be toning down the yellow in his fur and adding more color to his face. These layers of color are only the preliminary layers. There are more to come.

In the photos I have taken of Thomas, he has some yellow/gold in his fur on his back and a little bit on the side of his body. However, when I saw Thomas, I don't remember seeing that much yellow. I have asked his owner to take a look and make sure the photos aren't lying to me.

I have also decided to darken the background on the right side a little bit. As you can see, I have chosen to have the main lighting source come from the right side at an angle. However, I do think it is a bit harsh as it is. I won't start on the right side of Thomas's face until I get that darkened just a little bit more.

Next I will be adjusting his colors and doing more to his head.

NOTE: To get a better view, click on the photo and view the photo in a larger size.

Monday, February 7, 2011

Thomas the Maine Coon - Values and Sketch

I've got more work done on the Maine Coon cat. Here is a rough value sketch of the cat and the wooden chest he's on. This sketch helps me figure out values before committing to them on the board so, hopefully, I won't make a mistake and not be able to erase.


I have now transferred a basic outline sketch of Thomas to my prepared pastelbord. At this point, I decided that I needed to add pencil to the watercolor background I had prepared. I am using french greys over a cool gray wc background. I may just combine some cool grays over the french grey too. Not really satisfied with the background just yet. Unfortunately, you can't see the nuances, the transitions of color in the background in this photo.


I have also begun working on Thomas's ear. Remember, nothing is permanent until I am finished with the painting! These colors are not the finished combination.

Sorry for the poor photos. It's very overcast here today and the natural lighting is not good. This has also affected the colors in the photos. I will be posting another update soon that should be better.

Saturday, January 29, 2011

Background for Maine Coon


I recently received a commission to paint a Maine Coon cat named Thomas. He is one gorgeous boy! After trying three different supports out, I have settled on Pastelbord. What a surprise.

I got a white 9x12 piece of pastelbord out, pulled out my Neocolors II, and began the background. I applied quite a few layers of the Neocolors, wetting the colors to blend them in between layers. Most of the time I just apply more color without waiting for the previous layer underneath to dry. My problem is that the layers tend to dry too quickly, so I tried to keep the support a bit wet without removing or dulling down any color.

I started off by using a large Aquaflo brush, but had a lot of trouble getting the water to flow out the way it is supposed to. I quickly switched over to a 1" Creative Mark Fundamentals wash brush. I kept the brush damp all the time and went over and over the painting in a circular motion, blending and reblending the colors using a sfumato technique until I got the effect I wanted. The result is the photo above. It took me a couple of hours to get this much done.

The Neocolors I used are; light grey, steel grey, dark grey, and white. The white was only for toning down and lightening up an area.

Next is the sketch and then beginning with the colored pencils.